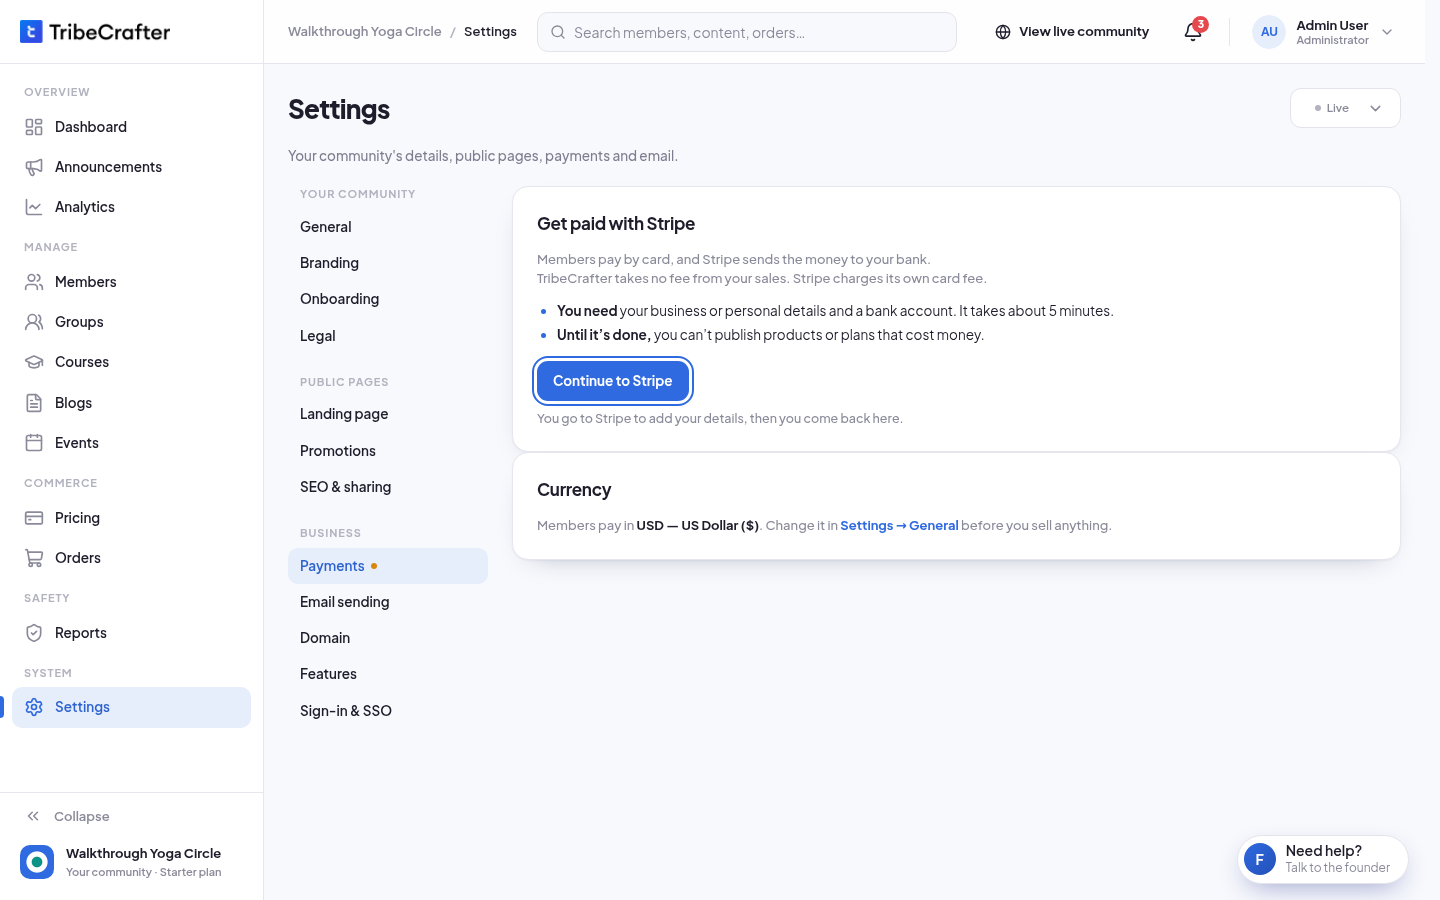
Connect a Stripe account so members can pay by card and the money goes to your bank.
You need Stripe only to sell plans or products. A free community never needs it. You can make drafts without Stripe, but you can't publish a plan or product that costs money until Stripe is ready.
TribeCrafter takes no fee from your sales. Stripe charges its own card fee.
Before you start
- Who: any Community Admin can start. The person who connects Stripe is then the only one who can open it from Studio. Others see the buttons turned off, with "Only the community owner can open Stripe." So the owner should do it.
- What you need: your business or personal details and a bank account. It takes about 5 minutes.
- Currency: members pay in your community's currency. Check it in Settings → General first. It locks once you publish a plan or product, or get an order.
Steps
- In Studio, go to Settings → Payments.
- Click Continue to Stripe. Stripe opens.
- Fill in Stripe's form. Stripe then sends you back to Studio.
- You see "You're back from Stripe. Payments are ready." The page shows a green Ready label.
If you see only "You're back from Stripe." and the label "Stripe needs more details", click Finish on Stripe. Stripe asks only for what is missing. Until then, members can't pay.
After Stripe is ready
| Button | What it does |
|---|---|
| Open Stripe dashboard | Opens Stripe in a new tab: your balance, payouts and disputes. |
| Change bank or business details | Opens Stripe to change your bank or business details. |
Studio shows only the last 4 characters of your Stripe account ID.
Until Stripe is ready, Payments has an amber dot in the Settings list. If you don't sell anything, you can ignore it.