From a new community to a live one: where things are, the 6 things to do before you go live, and what to do next.
Where you work
| Place | What you do there |
|---|---|
| Your TribeCrafter account (app.tribecrafter.net) | Your TribeCrafter plan, billing and invoices, and the list of communities you run. |
| Studio | Everything about one community: setup, members, content, selling, settings. |
Each community has its own Studio. If you run more than one community, set up each one on its own.
1. Create your community
- Sign in to your TribeCrafter account at app.tribecrafter.net.
- On Choose your plan, pick a plan. You can start with a free trial: no card needed.
- Type a Community name (3 to 30 characters) and click Continue. If you see "Preparing your community…", keep the page open. It can take a minute or two.
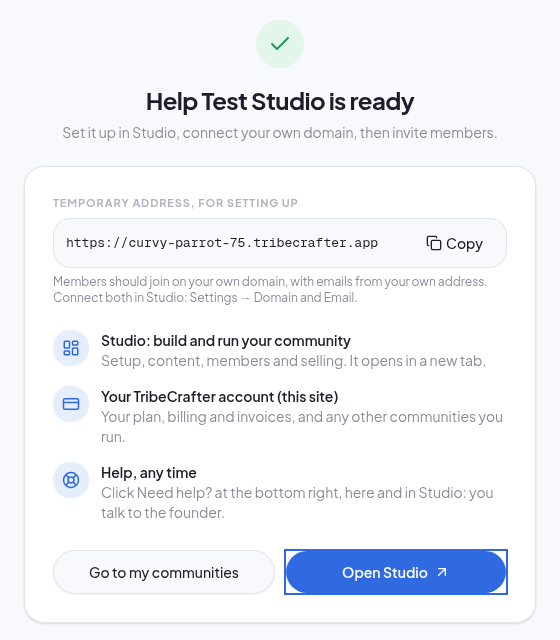
- You see " is ready". It shows your temporary address, on
tribecrafter.app. This address is for setup. Later you connect your own domain. - Click Open Studio. Studio opens in a new tab.
2. Open Studio again later
Use one of these:
- From your TribeCrafter account: go to Communities and click Open Studio on your community. While it is not live, its card also shows Before you go live with the number of steps left and Continue setup.
- Before your community is live: open your community's address and click Open Studio on the holding page.
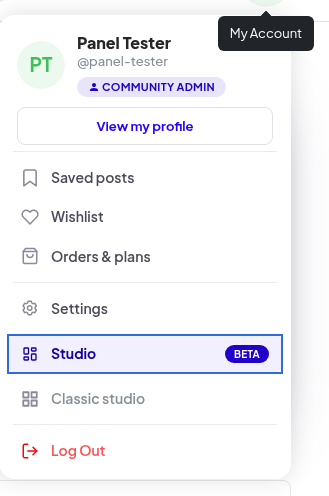
- After it is live: in your community, open the account menu (your picture at the top) and click Studio.
You do not need a second password. If you are signed out of your community, you sign in first and then Studio opens.
3. Do the 6 go-live checks
Studio opens on the Dashboard. On a new community you see a welcome card and the Before you go live checklist.
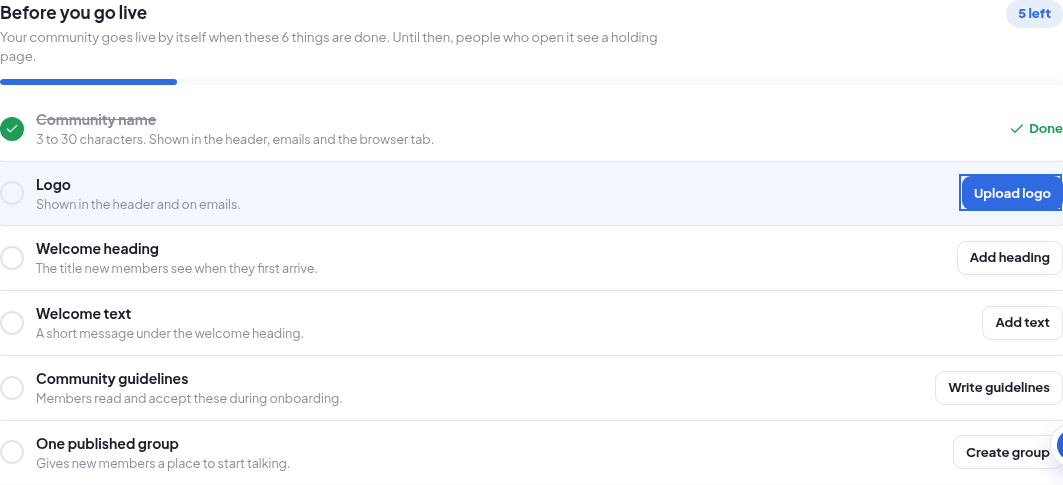
Your community goes live by itself when all 6 checks are done. There is no Go live button. Until then, people who open your community see a holding page.
Community name is already done when you arrive: Studio uses the name you typed in step 1. So the checklist starts at "5 left".
Each check has a button that opens the right screen:
| Check | Where you do it | What it needs |
|---|---|---|
| Community name | Settings → General | 3 to 30 characters. Already done. |
| Logo | Settings → Branding | A logo image. JPG, PNG, WebP or GIF, up to 10 MB. Square, at least 512 × 512 px is best. |
| Welcome heading | Settings → Onboarding | The title new members see first. Up to 50 characters. |
| Welcome text | Settings → Onboarding | A short line under the heading. Plain text, up to 300 characters. |
| Community guidelines | Settings → Onboarding | Rules members read and accept when they join. A short first version is fine. |
| One published group | Groups → Create group | One group with the status Published. |
On a Settings page, click Save changes after you edit. A check ticks off when you save: you see " done."
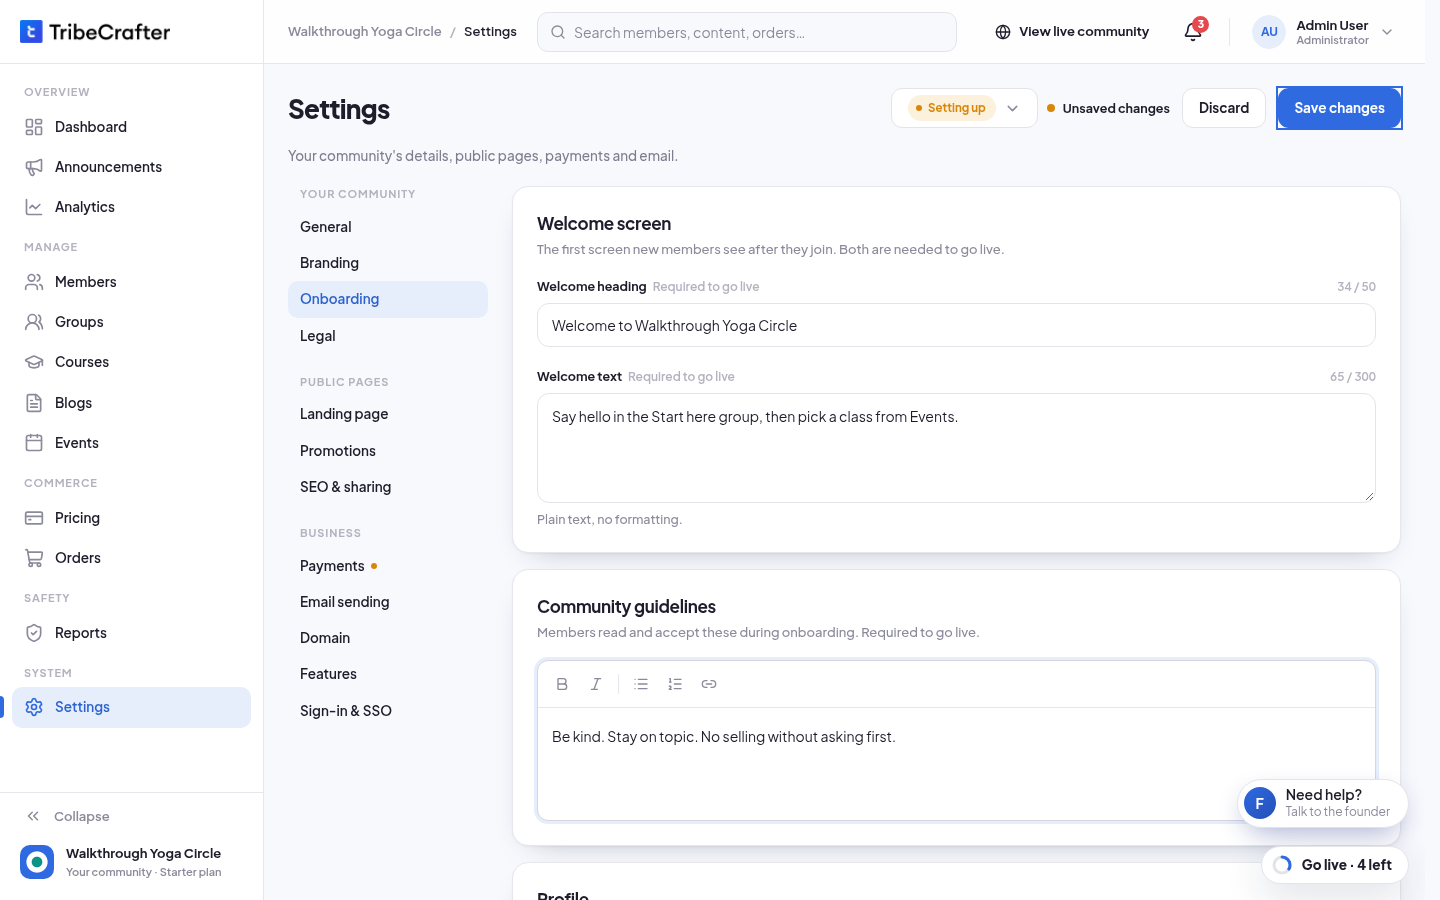
While you work on other screens, a Go live · N left button stays at the bottom right. Click it to see the checklist and jump to the next check.
Your first group: make it free
A paid group needs Stripe first, so start with a free one. To learn how paid access works, see How access and selling work.
- Go to Groups and click Create group.
- Add a Group name (3 to 60 characters), a Description (at least 50 characters) and a Cover image. You need the cover image to publish.
- Click Next: Access and pick Free ("Any member can join with one click. No payment.").
- Optional: turn on Add new members automatically. Everyone who joins your community is then added to this group when they finish onboarding.
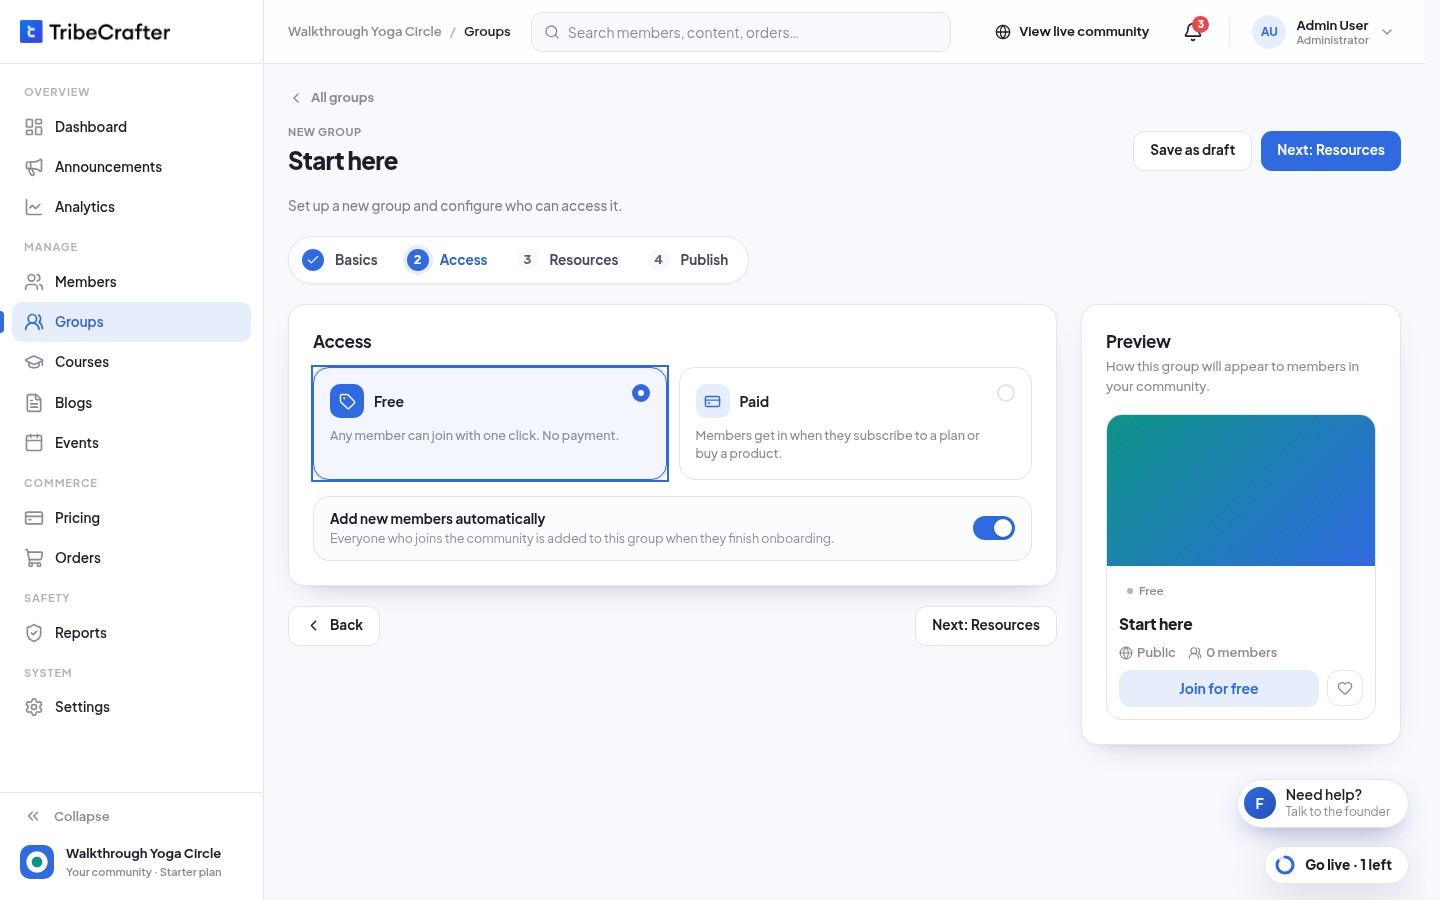
- Click Next: Resources, then Next: Publish.
- Click Publish group. You see "Group published. Members can see it now."
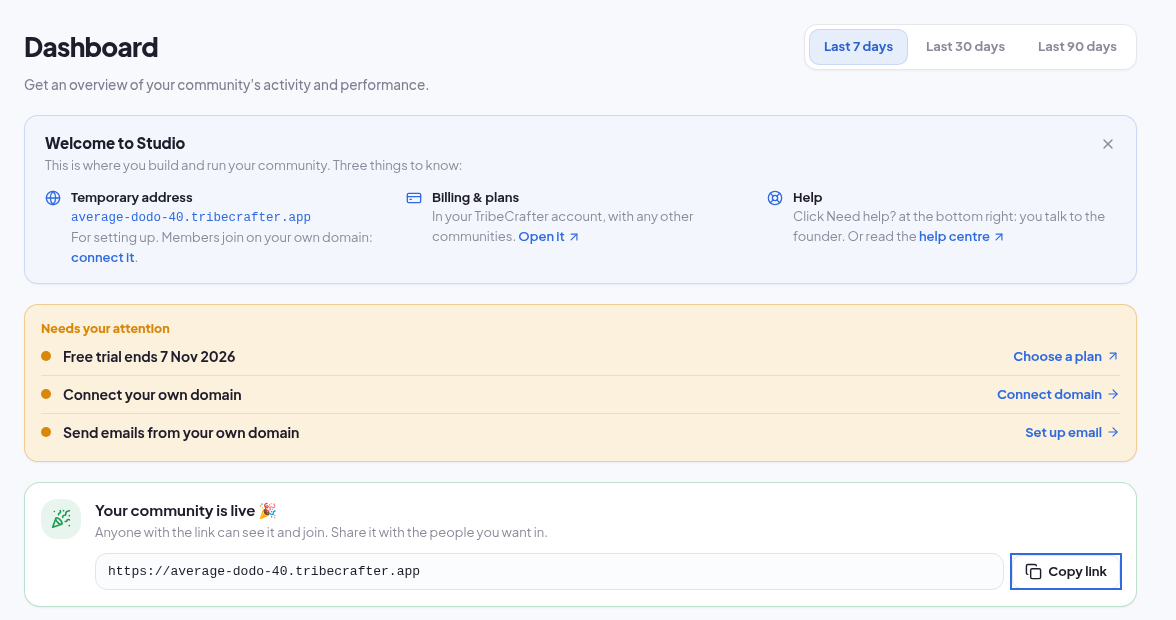
When the last check passes, your community is live. With no members yet, the Dashboard shows "Your community is live 🎉" and a Copy link button.
4. What to do next
None of these is needed to go live. Do them in the order that suits you.
| Task | Where | Who |
|---|---|---|
| Connect your own domain. Do it before you invite members: links in emails and Stripe receipts use this address. | Settings → Domain | Owner only |
| Send emails from your own domain, not from no-reply@tribecrafter.app. | Settings → Email sending | Owner only |
| Connect Stripe, so you can sell plans and products. Only needed if you charge. | Settings → Payments | The person who connects Stripe. Ask the owner to do it. |
| Build your landing page, the page visitors see before they join. | Settings → Landing page | Any Community Admin |
| Invite your first members. Up to 50 emails at a time, or share your invite link. | Members → Invite members | Any Community Admin |
The owner is the person who created the community in their TribeCrafter account. Other admins see the owner-only buttons turned off.
If you turned off Anyone can sign up in Settings → Sign-in & SSO, you can't send invites. The invite window tells you so.
To take your community offline for a while, see Pause and resume your community.
On a phone
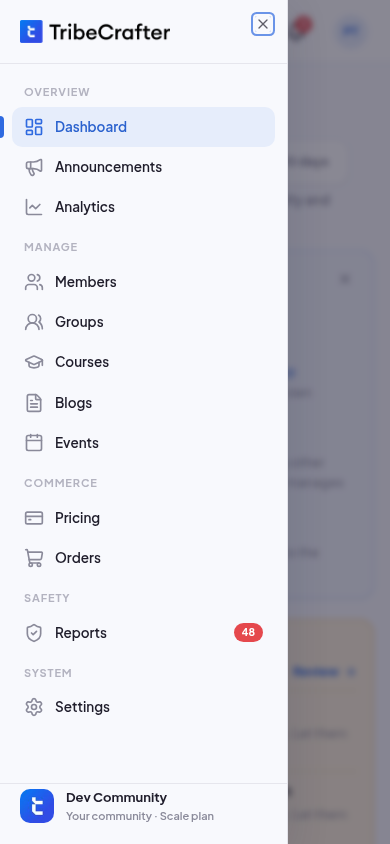
- The sidebar is hidden. Tap the menu button at the top left to open it.
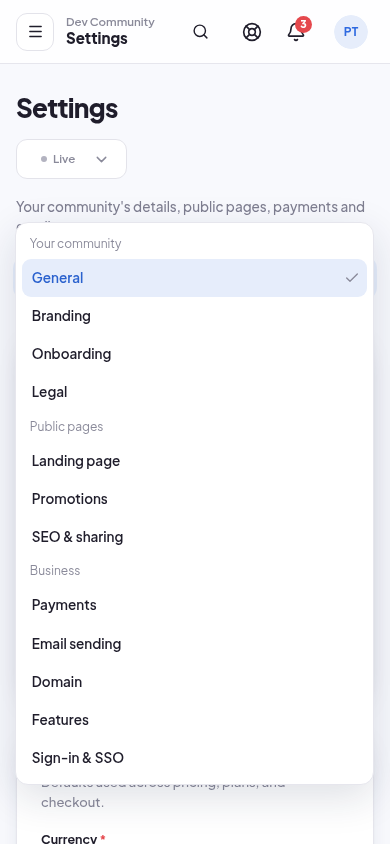
- In Settings, pick the page from the Settings page list at the top.
Get help
- In Studio, click Need help? at the bottom right (on a phone, tap Help at the top). Use Book a call with me or Email me to reach the founder, or Take the tour for a walk through every menu item.
- The Help centre link is in the same panel and in Studio's account menu.